Shopify is one of the most popular eCommerce platforms in the world, trusted by millions of merchants—from first-time founders to global brands.
What makes Shopify attractive is its balance of simplicity and power. You don’t need to manage servers, worry about security updates, or handle complex configurations. At the same time, Shopify offers enough flexibility to scale as your business grows.
This guide walks you through the entire process of creating a Shopify store, from account setup to launching your first product.
What Is Shopify?
Shopify is a hosted eCommerce platform that allows you to create, manage, and scale an online store without technical complexity.
Unlike self-hosted platforms, Shopify handles:
- Hosting and infrastructure
- Security and PCI compliance
- Software updates
- Performance optimization
This lets you focus on products, marketing, and customer experience.
What You Need Before You Start
Before creating a Shopify store, make sure you have:
- A business idea or product concept
- A domain name (or a temporary Shopify subdomain)
- Basic product information (pricing, descriptions, images)
- A payment method for subscription billing
You don’t need hosting or technical setup—Shopify takes care of that.
Step 1: Create a Shopify Account
Go to Shopify’s official website and sign up for an account.
During signup, Shopify will ask:
- Your store name
- Your industry
- Whether you’re already selling
Your store name can be changed later, so don’t overthink this step.
Once completed, you’ll be redirected to the Shopify admin dashboard.
Step 2: Understand the Shopify Dashboard
The Shopify admin is where everything happens:
- Products
- Orders
- Customers
- Payments
- Themes
- Apps
Spend some time clicking through the interface. Shopify’s layout is intuitive, but familiarity saves time later.
Step 3: Add Your First Products
Navigate to Products → Add product.
Each product includes:
- Title
- Description
- Images
- Pricing
- Inventory
- Shipping settings
Write clear, benefit-focused descriptions and use high-quality images. Product pages play a major role in conversion rates.
Step 4: Choose and Customize a Theme
Themes control your store’s design and layout.
Shopify offers:
- Free official themes
- Premium themes from the Shopify Theme Store
When choosing a theme:
- Prioritize speed and mobile responsiveness
- Avoid overly complex layouts
- Make sure it supports your product type
Customization is done visually—no coding required for most stores.
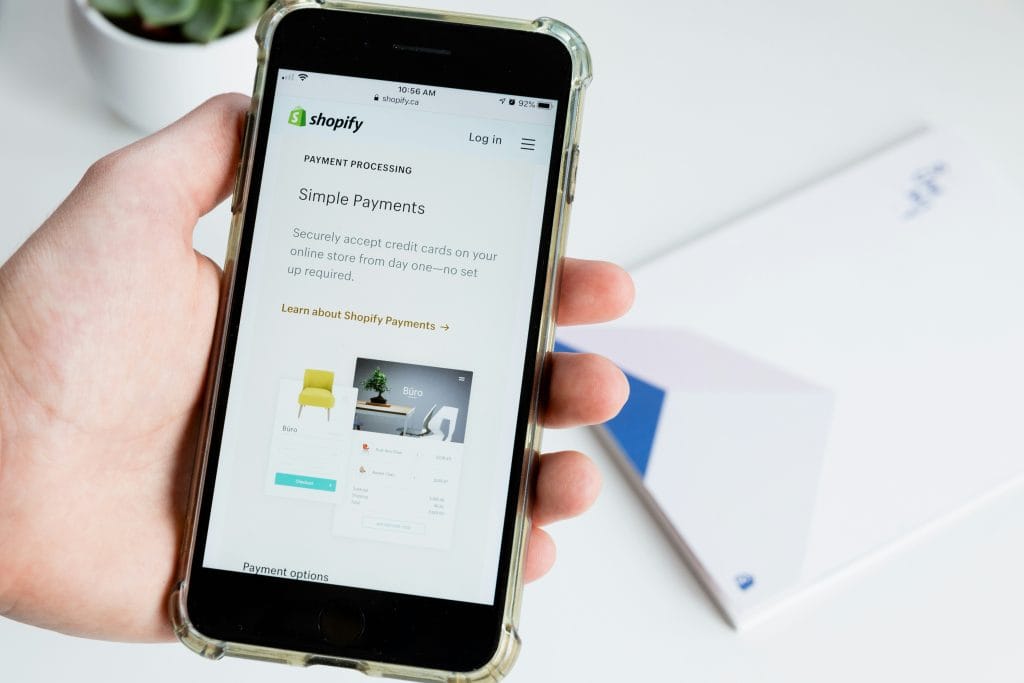
Step 5: Set Up Payments
Shopify supports multiple payment methods, including:
- Shopify Payments
- Credit cards
- PayPal
- Local payment options
Enable at least one primary payment gateway before launch.
Make sure to:
- Test checkout
- Verify currency settings
- Review transaction fees
Step 6: Configure Shipping and Taxes
Shipping and tax settings depend on your location and business model.
You can:
- Set flat-rate shipping
- Use real-time carrier rates
- Offer free shipping
Tax rules vary by country, so review local regulations carefully.
Step 7: Connect a Domain Name
You can:
- Buy a domain through Shopify
- Connect an existing domain from another registrar
Using a custom domain improves brand trust and professionalism.
Step 8: Install Essential Apps
Shopify apps extend functionality.
Common categories include:
- Marketing
- Reviews
- SEO
- Inventory management
- Email automation
Install only what you need—too many apps can slow your store.
Step 9: Test and Launch Your Store
Before launching:
- Place a test order
- Check mobile layout
- Review checkout flow
- Proofread all pages
Once ready, remove password protection and launch your store.
What’s Next?
After launching, focus on:
- Traffic acquisition
- Conversion optimization
- Customer retention
Next recommended reading: